


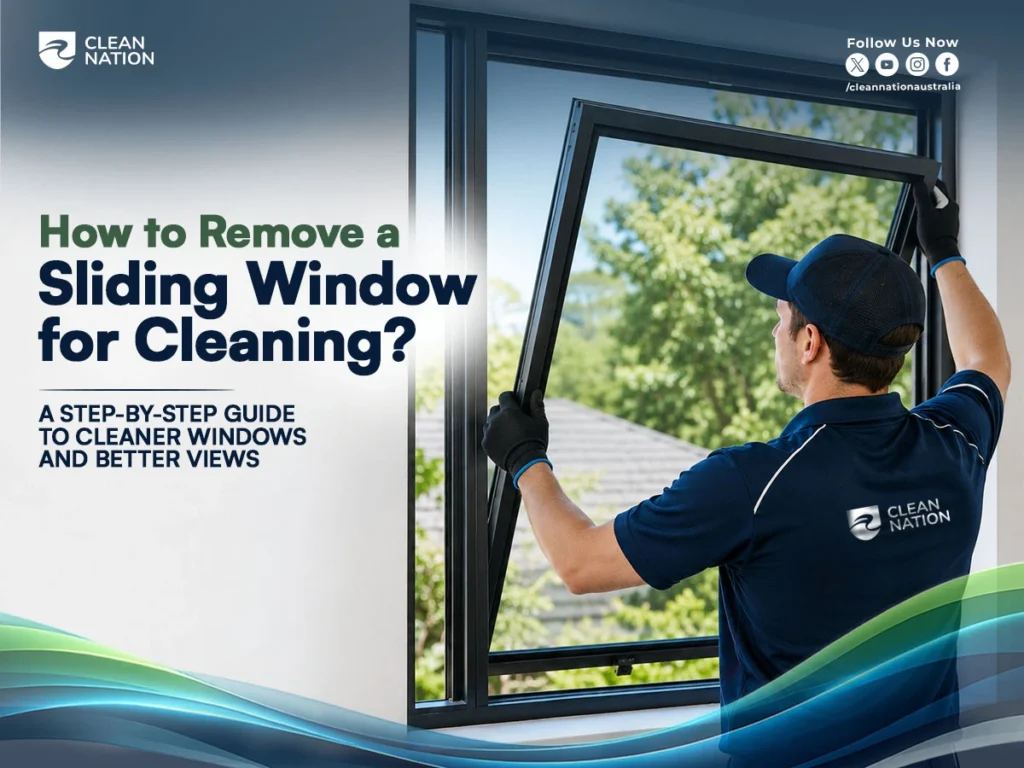
How to remove a sliding window for cleaning: unlock the window, lift the panel into the upper track, then angle and pull the bottom free of the frame. Vertical windows also need the sash stops released before the sash lifts out.
From there, clean both sides of the glass, clear out the tracks, and reverse the steps to reinstall. If the window won’t budge or feels risky to handle, Clean Nation’s professional window cleaning services across Australia can take care of it safely.
Why Remove a Sliding Window for Cleaning?
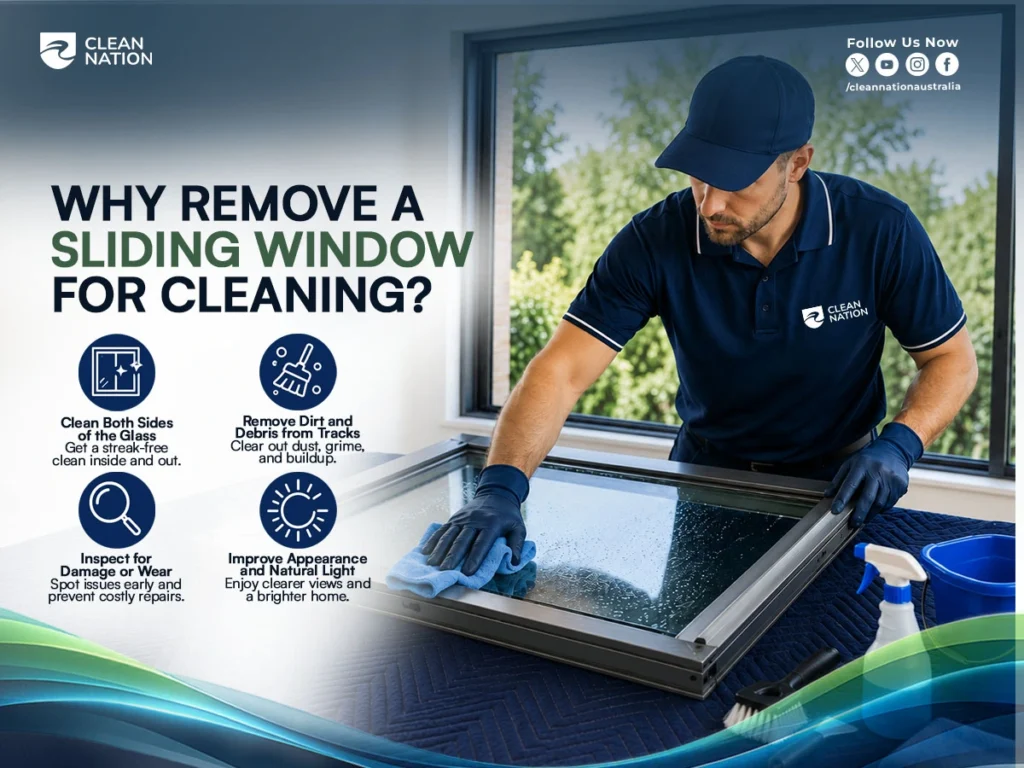
You remove a sliding window for cleaning because the tracks and outer glass are almost impossible to reach properly while it’s still in the frame. Taking the panel out gives you full access for a proper, thorough clean instead of a quick surface wipe.
Here’s what that extra step gets you:
Both sides of the glass, done right. No more leaning out at an awkward angle. Once the panel’s out, you can lay it flat and get a genuine streak-free window cleaning result on both sides.
Tracks that are actually clean. Dust, pet hair, and grime build up in corners a cloth can’t reach while the window’s still mounted.
A chance to spot problems early. With the panel out, it’s easy to notice a worn seal or a stiff track before it turns into a bigger repair.
The result: better window appearance, clearer views, more light in the room, all from a bit of proper home maintenance.
If accessing difficult-to-reach windows sounds like more hassle than it’s worth, that’s exactly what the Clean Nation team handles regularly.
Before You Start: What You’ll Need
Before removing any sliding window, you need to know your window type, gather a few basic tools, and take some simple safety precautions. Getting this right first makes the whole job faster and safer.
Identify Your Window Type (Horizontal vs Vertical)
Sliding windows generally fall into two categories, and knowing which one you have changes how you approach removal.
| Horizontal | Vertical |
|---|---|
| Slides sideways | Slides up and down |
| Easier to remove | May require releasing sash stops |
| Common in modern homes | Common in older homes |
Horizontal sliding windows move side to side along a bottom track, and one panel is usually fixed while the other slides open. Vertical sliding windows, sometimes called double hung windows, have a sash that moves up and down instead, and often need the sash stops released before the sash comes free. Some homes also have aluminium sash frames, which tend to be lighter but still need careful handling.
Take a moment to check yours before starting, since the removal steps for each type are quite different.
Tools and Materials Checklist
You don’t need anything fancy for this job, just a handful of basic tools most homes already have.
Grab a flathead screwdriver and a Phillips screwdriver for any screws or clips holding the frame or screen in place. A pair of safety gloves is worth using, especially with older or heavier glass. For the actual clean, keep a bucket, some soap and water or a mild window cleaning product, and a microfiber cloth on hand. A vacuum with a brush attachment also helps a lot when it comes to the tracks.
Safety Precautions
Sliding windows, especially older ones, can be heavier and more fragile than they look, so a bit of care goes a long way.
Clear your workspace before you begin so you have room to manoeuvre the panel without knocking into furniture. If the window is large or feels heavy, get a second pair of hands to help lift it out. Avoid forcing anything that feels stuck, since that’s usually how glass cracks or frames get damaged. And if the window is on an upper floor or hard to reach safely, it might be worth calling in professional window cleaning instead of risking a fall.
How to Remove a Horizontal Sliding Window?
To remove a horizontal sliding window, you unlock it, take off the screen, lift the panel into the upper track, then angle and pull it free from the bottom. Here’s how each step works in more detail.
Step 1: Unlock and Open the Window
Start by unlocking the window and sliding it open. Check that any security locks or window locks are fully released first, since trying to lift a locked panel is a common reason people get stuck at this stage.
Step 2: Remove the Window Screen
If your window has a flyscreen or window screen, take it out next. Most screens simply lift out of their frame clips or side rails once released, though some older ones are held with small screws. Set the screen aside somewhere safe so it doesn’t get bent while you’re working.
Step 3: Lift the Panel into the Upper Track
With the screen out of the way, lift the sliding panel upward into the top track. Most sliding windows are built with a bit of extra space in the upper track specifically for this step, which is what allows the bottom edge to swing free.
Step 4: Pull the Bottom Edge Toward You
Once the panel is pushed up into the top track, pull the bottom edge toward you. This tilts the glass panel out of the bottom track while it’s still supported by the top.
Step 5: Remove the Sliding Panel
With the bottom edge angled out, lower the panel down and out of the top track completely. Handle it with both hands, since the panel is heavier than it looks, then set it down flat on a stable, padded surface ready for cleaning.
How to Remove a Vertical Sliding Window?
To remove a vertical sliding window, you raise the lower sash, release the sash stops, tilt the sash inward, then lift it free of the frame. Vertical or double hung windows work a bit differently from horizontal ones, so it pays to follow the order carefully.
Step 1: Unlock and Raise the Lower Sash
Unlock the window first, then raise the bottom sash as far up as it will go. This gives you the clearance you’ll need for the next step.
Step 2: Release the Sash Stops
Most vertical sliding windows have small sash stops or safety clips fitted along the side rails. These are there to stop the sash from being lifted out accidentally, usually as a security feature. You’ll need to release or remove these clips before the sash can come free, so check both sides carefully.
Step 3: Tilt the Sash Inward
Once the stops are released, gently tilt the sash inward toward you, pulling the bottom of the frame away from the track while the top stays roughly in place.
Step 4: Remove the Window Sash
With the sash tilted, lift it up and out of the frame. Support it with both hands since aluminium and glass sashes are heavier than they appear, and rest it on a flat, stable surface once it’s out.
How to Clean the Sliding Window and Tracks?
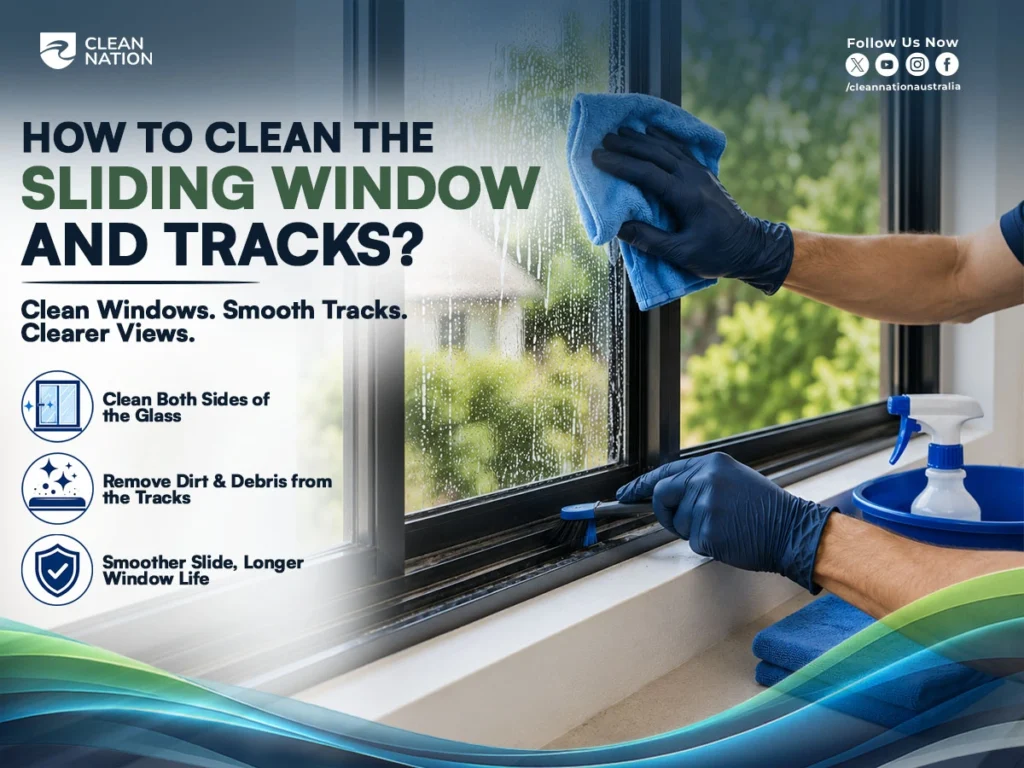
Cleaning a sliding window properly means treating the glass, the tracks, and the frame as three separate jobs, not one quick wipe. Each part collects a different kind of dirt, so each needs a slightly different approach.
Clean the Glass
Wipe both sides of the glass using a damp microfiber cloth with a bit of soap and water, or a proper window cleaner solution if you have one. For tougher marks or built-up grime, a simple vinegar and water solution works well too. Go over the glass with a gentle back-and-forth motion rather than scrubbing hard in one spot, then dry it off for a streak-free window cleaning finish.
For more general techniques that speed up the whole process, not just sliding panels, Tips for Efficiently Cleaning Windows covers tool choices, squeegee technique, and time-saving habits worth applying here too.
Clean the Tracks and Rollers
This is usually the part people skip, and it’s where most of the dirt actually is. Use a handheld vacuum with a brush attachment to pull out loose dust, pet hair, and debris from the tracks first. Then go over the tracks and rollers with a damp cloth to lift anything stuck on. If the window has felt stiff to slide, a light track lubricant at this point can make a real difference.
Wipe Down the Frame
Finish with the frame and windowsill. A damp cloth is usually enough to clear away dust and cobwebs that have settled into corners and along the edges. It’s a small step, but it’s what gives the whole window that properly cared-for look once it’s back in place.
How to Reinstall the Sliding Window?
To reinstall a sliding window, you fit the top edge into the upper track first, lower the bottom into place, then test that it slides smoothly. This is basically the removal process in reverse.
Insert the Top Edge into the Track
Line up the top of the panel or sash with the upper track and push it upward into place, the same way you lifted it out during removal.
Lower the Bottom into Place
With the top edge sitting in the track, gently lower the bottom of the panel down into the bottom track or sill. It should settle into place without much force, so if it’s fighting you, double-check the alignment before pushing further.
Check That the Window Slides Smoothly
Once it’s back in the frame, slide the window open and closed a few times to make sure it’s moving freely. Refit the screen, then check that the locks engage properly, often with a small click, confirming everything is back where it should be.
Common Mistakes and Troubleshooting
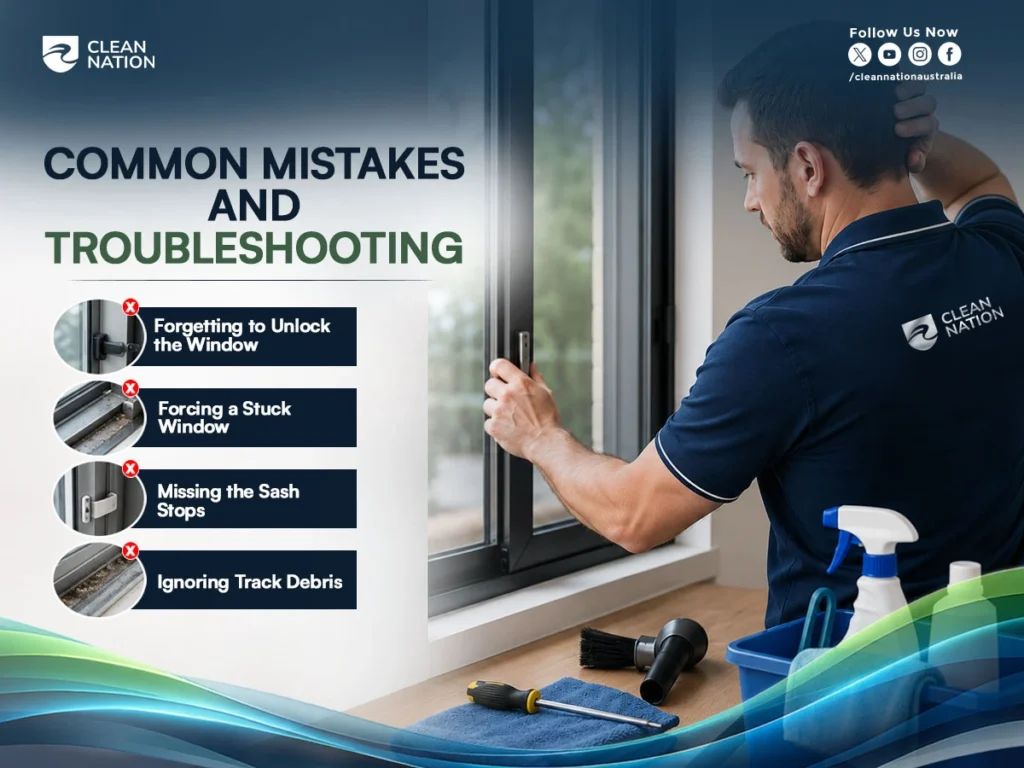
The most common mistakes when removing a sliding window are skipping the lock check, forcing a stuck panel, and missing the sash stops or safety clips on vertical windows. Most of these are avoidable once you know what to look for.
- Skipping the lock check – A lot of “stuck” windows aren’t actually stuck at all; they’re still locked. Always double-check the lock before assuming there’s a bigger problem.
- Missing the sash stops on vertical windows – Forgetting to release the sash stops or safety clips is one of the most common sticking points. The sash simply won’t lift out until those clips are cleared on both sides.
- Forcing a jammed panel – This is where most cracked glass and bent frames come from. If something resists, stop and check what’s holding it rather than pushing harder.
- Ignoring resistance during removal – If the panel feels like it’s catching on something, don’t force it through. Check the track for debris or a misaligned roller first.
- Not checking for a bigger issue – If you’ve tried everything and the window still won’t come free, it could be a bent track or damaged hardware. At that point, it’s worth getting a professional to take a look rather than risking more damage.
Maintenance Tips to Reduce Future Cleaning Effort
A little regular upkeep keeps sliding windows cleaner for longer and stops the tracks from building up grime in the first place.
- Wipe down the tracks every few weeks – Loose dust is far easier to remove than dust that’s been sitting for months, so don’t wait until it’s visibly dirty.
- Apply a light silicone-based lubricant – A small amount on the tracks every so often keeps the window sliding smoothly and stops rollers from wearing out early.
- Check seals and weather stripping once or twice a year – This helps catch small issues early, like gaps letting in draughts or moisture, before they turn into bigger repairs.
- Keep an eye on the rollers – If the window starts feeling stiff or noisy to slide, it’s often a sign the rollers need a clean or a bit of lubricant before they wear down further.
When to Call Clean Nation for Sliding Window Cleaning?
Call Clean Nation when a window is stuck, on an upper floor, heavy, or when you’d simply rather not risk doing it yourself. Some jobs are better left to people who do this every day.
If a panel won’t budge and you’re worried about forcing it, that’s exactly the kind of situation where a professional tool and a trained eye make the difference between a clean window and a cracked one. Windows on upper floors or anywhere that needs careful balancing carry a real safety risk, and it’s simply not worth it. Older or heavier glass, tracks that already look damaged, or windows still under warranty are also good reasons to hand the job over rather than risk voiding cover or causing damage.
Clean Nation provides window cleaning services in Australia, with local teams offering window cleaning services in Sydney and window cleaning services in New South Wales more broadly. Whether it’s one stubborn sliding window or the whole house, our team handles it with the right tools and the experience to get it right the first time.
If you run a window cleaning business yourself and want to take on more jobs like this at a commercial scale, How to Get Commercial Window Cleaning Contracts? covers how to find and win that kind of work.
Client Experience with Clean Nation
Clean Nation customers consistently mention the same things: windows that actually look brand new, tracks that no longer stick, and a job done without the stress of doing it themselves. That kind of result comes from doing this work day in and day out.
Homeowners who’ve had their sliding windows removed and deep cleaned by our team often say the biggest surprise is how much brighter their rooms feel afterward, simply from the glass being properly clean on both sides. Others mention finally getting rid of a window that had been sticking or grinding in its track for months, something a proper clean and a bit of lubrication usually sorts out. Across Sydney and the wider New South Wales region, that’s the kind of feedback our teams hear most: a small job that makes a noticeably bigger difference than people expect.
FAQs
The following are the FAQs:
Can all sliding windows be removed for cleaning?
Most modern sliding windows are designed to be removed for cleaning, but some older or heavily sealed models may not lift out easily. If yours feels stuck or doesn’t have visible sash stops, it’s worth checking with a professional before forcing it.
Do I need two people to remove a large sliding window?
For bigger or heavier panels, yes, it’s safer to have a second person help lift and support the glass. This reduces the risk of dropping it or straining yourself during removal.
Is it safe to remove windows on upper floors myself?
It’s not recommended. Upper floor windows carry a real fall risk, and it’s better to leave these to a professional window cleaning service with the right safety equipment.
Will removing my window void the warranty?
It can, depending on the manufacturer. If your windows are still under warranty, check the terms first or have a professional handle the removal to avoid any issues.
How long does it take to remove, clean, and reinstall one window?
A single sliding window usually takes 15 to 30 minutes from removal to reinstall, depending on how dirty the tracks are and whether it’s your first time doing it.
Final Thoughts
Removing a sliding window for cleaning isn’t complicated once you know the steps, but it does take a bit of patience and the right approach for your window type. Whether you’re dealing with a horizontal or vertical sliding window, the process comes down to unlocking, carefully removing the panel, giving it a proper clean, and fitting it back into place.
If it all feels like more than you want to take on, or the window just won’t cooperate, Clean Nation is ready to help. As a trusted name in professional window cleaning across Australia, we make sure every window, sliding or otherwise, gets the streak-free window cleaning result it deserves. A clean, smooth sliding window makes more difference to a home than people expect, and it’s one job you don’t have to tackle alone.
Ready for spotless, streak-free windows without the hassle? Book your Clean Nation window cleaning service today and let our team handle the hard part for you.