


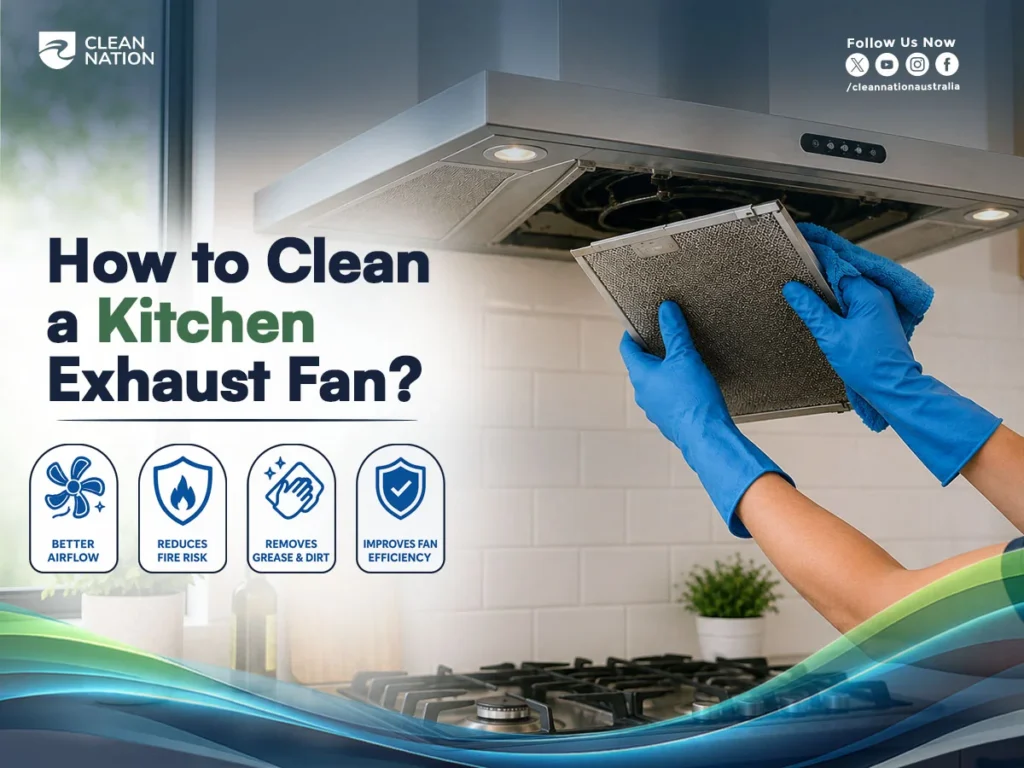
How to Clean a Kitchen Exhaust Fan: Turn off the power, then remove the filter and cover and soak them in hot soapy water for 15 to 20 minutes to loosen the grease. Scrub off any remaining buildup, wipe down the fan housing and blades with a degreaser (avoiding the motor itself), then rinse everything, dry it fully, and reassemble. Do this every four to six weeks to keep grease from becoming a fire hazard, or let a cleaning service in Australia handle it for you.
Signs Your Kitchen Exhaust Fan Needs Cleaning
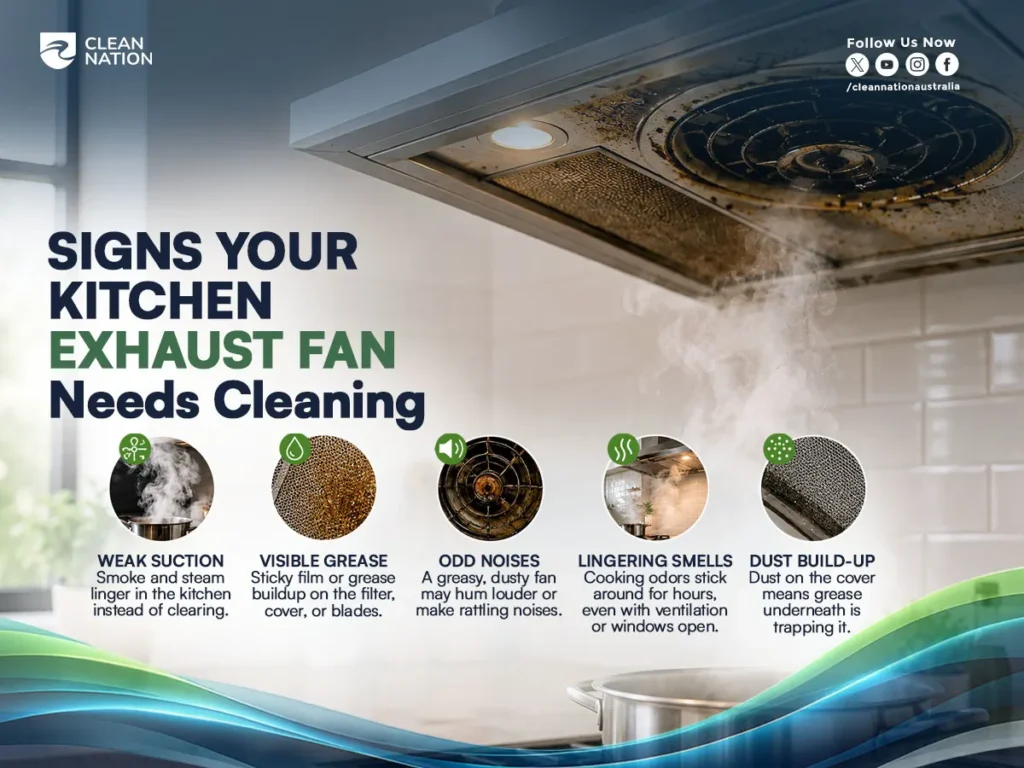
You don’t need to clean your exhaust fan on a strict calendar. Watch for these signs instead:
- Weak suction. Smoke and steam hang around the kitchen instead of pulling up and out.
- Visible grease. A sticky film on the filter, cover, or blades is an easy giveaway.
- Odd noises. A fan that’s straining under grease and dust often hums louder or rattles.
- Lingering smells. Cooking odours that stick around for hours, even after you’ve opened a window.
- Dust build-up. A layer of dust on the cover usually means grease underneath is trapping it.
If you notice two or more of these, it’s time to clean.
Why Cleaning Your Kitchen Exhaust Fan Matters
Grease isn’t just messy. It’s flammable. A thick layer of grease on your fan blades or filter is one of the more common causes of kitchen fires, especially if it builds up near the motor or heat source.
Beyond fire risk, a dirty fan drags down your whole kitchen:
- Poor ventilation means smoke and steam stay in the room longer, which is uncomfortable and can trigger smoke alarms unnecessarily.
- Trapped bacteria and food residue on a greasy filter isn’t great for hygiene, especially in a space where you prepare food daily. If you’re keeping the rest of your kitchen sanitary too, it helps to know how to disinfect kitchen surfaces the right way, since a clean exhaust fan doesn’t do much if grease and germs are still spreading elsewhere.
- Reduced airflow forces the motor to work harder, which shortens its lifespan and can lead to a costlier repair down the line.
- A clean kitchen just feels better to cook in, and it keeps grease from spreading to nearby cabinets and walls.
Regular cleaning keeps the fan running efficiently and keeps your kitchen safer to use every day.
Tools, Supplies, and Best Cleaning Products You’ll Need
Before you start, gather everything so you’re not hunting for supplies halfway through.
Basic Tools and Household Supplies
- Rubber gloves
- Non-abrasive scrub brush or old toothbrush
- Soft sponge or microfiber cloth
- Bucket or large sink for soaking
- Screwdriver (if your cover is screwed in)
- Paper towels or dishcloths
Best Cleaning Products
You don’t need anything fancy. Most kitchens already have what works:
- Dish soap cuts through grease well and is gentle on metal filters.
- Baking soda mixed with hot water lifts stubborn, baked-on grease.
- White vinegar works as a natural degreaser and leaves no strong chemical smell.
- Degreaser spray is worth keeping on hand for heavier build-up, especially if you fry food often.
Stick to non-abrasive tools. Steel wool or harsh scrubbers can scratch metal filters and damage protective coatings.
Types of Kitchen Exhaust Fan Filters
Before you clean, it helps to know which filter you actually have. Not all of them are cleaned the same way.
- Mesh filters. Layers of metal mesh that trap grease as air passes through. Washable, and the most common type in home kitchens.
- Baffle filters. Solid metal panels arranged to force grease to drip down rather than pass through. Durable, washable, and common in newer range hoods.
- Charcoal filters. Designed to absorb odours rather than grease. These are usually not washable and need replacing every few months, since charcoal loses its absorbing power once saturated.
- Stainless steel filters. Often mesh or baffle-style but made from stainless steel. Highly durable, dishwasher-safe in most cases, and resistant to rust.
If you’re not sure which type you have, check the underside for a manufacturer’s label, or look up your model on the manufacturer’s website.
How to Clean Kitchen Exhaust Fan (Step-by-Step)
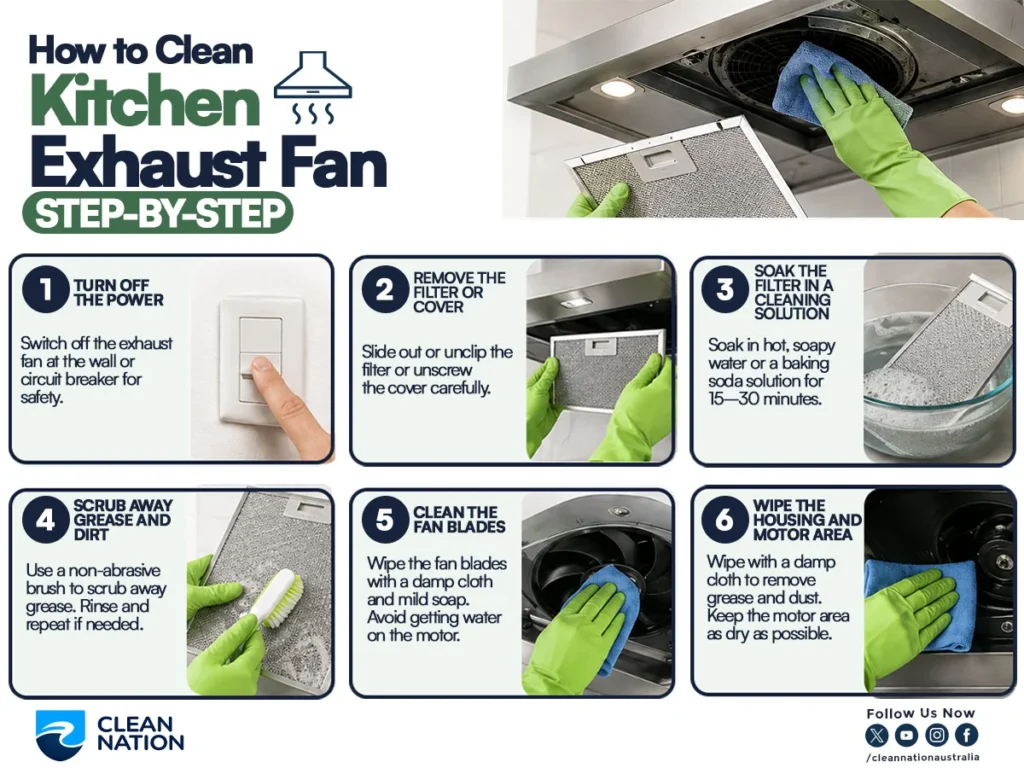
Once you’ve got your supplies ready, follow these steps in order. Each one builds on the last, so don’t skip ahead.
Turn Off the Power
Switch off the exhaust fan at the wall or, if you’re comfortable doing so, at the circuit breaker. This isn’t optional. Working around a motor and electrical parts while the power is live is a real shock risk.
Remove the Filter or Cover
Most filters slide out or unclip with a simple latch or lever. Some older models use screws. Check your owner’s manual if you’re not sure, since forcing a stuck filter can crack the housing.
Soak the Filter in a Cleaning Solution
Fill a sink or bucket with hot water and a good squeeze of dish soap, or mix in a few tablespoons of baking soda for tougher grease. Submerge the filter fully and let it soak for 15 to 30 minutes. This loosens grease, so you’re not scrubbing as hard later.
Scrub Away Grease and Dirt
After soaking, use your scrub brush or toothbrush to work over the mesh and edges. Focus on corners and grooves, where grease tends to collect. Rinse and repeat the soak if the grease is still stubborn.
Clean the Fan Blades
With the filter out, you’ll have access to the blades. Wipe them down with a damp cloth and a bit of dish soap. Avoid spraying liquid directly onto the blades if the motor sits close by, since moisture near electrical components can cause damage.
Wipe the Housing and Motor Area
Use a dry or barely damp cloth here, not a wet one. The motor area should stay as dry as possible. A little dust and light grease will come off with wiping, but don’t try to disassemble the motor housing yourself.
Rinse, Dry, and Reinstall the Filter
Rinse the filter thoroughly under warm water until the soap is gone. Let it air dry completely before putting it back. This usually takes 1 to 2 hours. Reinstalling a damp filter can lead to mould or a musty smell later.
How to Clean a Kitchen Exhaust Fan Without Removing It?
Renting your home, short on time, or dealing with a filter that won’t budge? You can still get a decent clean without full removal.
- Spray a degreaser directly onto the cover and visible fan components.
- Let it sit for a few minutes to break down grease.
- Wipe down with a damp microfiber cloth.
- Use a vacuum with a brush attachment to pull dust from vents and crevices.
- Finish with a dry cloth to remove any leftover residue.
This method won’t reach grease trapped deep in the mesh, so treat it as a maintenance clean between full deep cleans, not a replacement for one.
Common Mistakes to Avoid When Cleaning a Kitchen Exhaust Fan
A few small errors can turn a quick clean into a bigger problem:
- Skipping the power-off step. Always cut power before touching any fan component.
- Using harsh abrasives. Steel wool and rough scrubbers scratch metal filters and strip protective coatings.
- Getting the motor wet. Water near electrical parts can cause corrosion or a short.
- Reinstalling a wet filter. This traps moisture and invites mould.
- Ignoring cracks or damage. A cracked cover or loose screw affects how well the fan seals and runs, so replace damaged parts rather than working around them.
- Waiting too long between cleans. The longer grease sits, the harder it is to remove, and the higher your fire risk climbs.
How Often to Clean and Maintain Your Kitchen Exhaust Fan?
Recommended Cleaning Frequency
- Light cooking, a few times a week: clean the filter every 2 to 3 months.
- Regular cooking, especially frying or wok use: clean monthly.
- Heavy or commercial cooking: clean every 1 to 2 weeks, or check your local hygiene requirements if you run a food business.
Simple Maintenance Tips Between Deep Cleans
- Wipe the exterior cover weekly with a damp cloth.
- Check the filter for visible grease every couple of weeks.
- Cook with lids on pots where you can, to cut down on airborne grease.
- Keep vents clear of dust so airflow stays consistent.
Staying on top of small maintenance tasks means your deep cleans take less effort each time.
Why choose Clean Nation for professional kitchen cleaning?
If your exhaust fan has years of built-up grease, or you simply don’t have the time, a professional team can save you the hassle. Clean Nation offers kitchen cleaning services in Australia, covering everything from residential exhaust fans to full commercial kitchen exhaust systems.
Their technicians know how to break down heavy grease safely, without damaging filters, motors, or surrounding surfaces. This matters most in commercial kitchens, where grease build-up happens fast, and a poorly cleaned exhaust system can fail a hygiene inspection.
You can see the process in action in this short kitchen cleaning video, or check out a professional kitchen cleaning job from start to finish.
Case Study
A restaurant in Sydney contacted Clean Nation after noticing reduced airflow and a lingering smoke smell that wasn’t clearing even after hours of ventilation. Their exhaust fan hadn’t been professionally cleaned in over a year, and grease had built up thickly around the motor housing and duct opening.
The Clean Nation team fully stripped down the filter, cover, and accessible ducting, removing months of hardened grease that DIY cleaning couldn’t reach. Airflow improved immediately, and the kitchen passed its next hygiene inspection without issue. For businesses across the region, Clean Nation also provides kitchen cleaning services in Sydney and kitchen cleaning services in New South Wales, with results backed by real client reviews.
FAQs
Is vinegar safe for cleaning a kitchen exhaust fan?
Yes. White vinegar is a mild, natural degreaser that’s safe on most metal filters and won’t leave behind harsh chemical residue.
How long does it take to clean a kitchen exhaust fan?
Expect about 30 to 45 minutes of active cleaning, plus 15 to 30 minutes of soaking and 1 to 2 hours of drying time before you reinstall the filter.
Can you clean an exhaust fan with water?
Yes, for the filter and cover. Avoid spraying water directly on the motor or any electrical components, since moisture there can cause damage or a short.
What if my exhaust fan doesn’t have a removable filter?
Some models are sealed or built differently. In that case, use the no-removal method: degreaser spray, a damp cloth, and a vacuum with a brush attachment for the vents and visible surfaces.
How do I know if grease build-up is a fire risk?
If you can see a thick, sticky layer on the filter or blades, or if grease has dripped onto nearby surfaces, it’s built up enough to be a genuine fire hazard. Clean it as soon as possible.
Conclusion
A clean exhaust fan keeps your kitchen safer, your air fresher, and your appliance running longer. Whether you tackle it yourself with the steps above or bring in a professional team, the key is not letting grease sit for too long. Small, regular maintenance beats a big, difficult clean every time.
Don’t wait for grease to become a fire risk. If your exhaust fan hasn’t been cleaned in months, or the build-up feels like more than a DIY job, book a professional kitchen clean with Clean Nation today and breathe easier in your own kitchen.