


Kitchen cleaning hacks that actually save you time come down to one idea: loosen dirt before you scrub; don’t fight it after it hardens. Use a baking soda paste on stovetop grease, soak oven racks and pans while you clean elsewhere, and wipe spills the second they happen instead of letting them dry on. Follow a top-to-bottom cleaning order so you’re not redoing work, and build in daily habits like emptying the dishwasher each morning and clearing clutter before you wipe surfaces down. These small, consistent moves keep your kitchen clean without a big weekend scrub when buildup goes beyond what daily habits can fix; a professional cleaning service in Australia like Clean Nation handles the deep work.
Start With These Quick Kitchen Cleaning Hacks
A clean kitchen doesn’t need hours of work. It needs the right kitchen cleaning routine, done in the right order, every day. A few small habits add up to a kitchen that stays clean without a big weekend scrub.
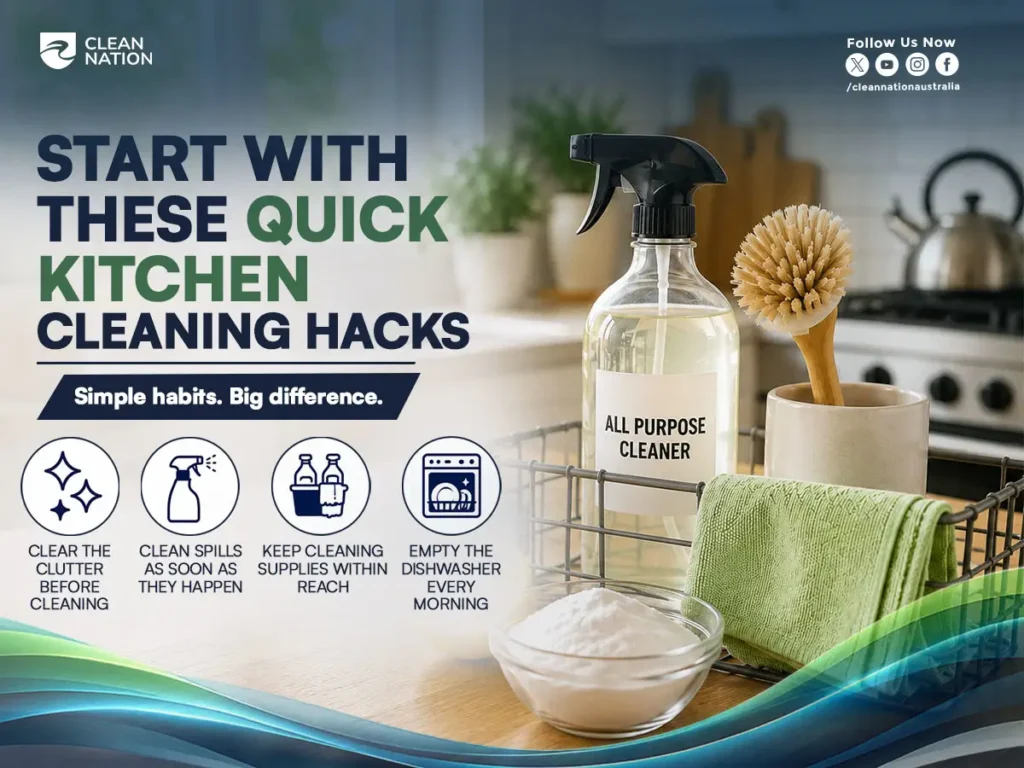
Build a simple cleaning schedule around these four habits. They take minutes each, but they stop mess from piling up. Think of them as your daily kitchen reset, not a chore list.
Clear the Clutter Before Cleaning
You can’t clean what’s buried under stuff. Before you wipe anything down, clear your countertops first.
Move mail, gadgets, and random items off your food preparation surfaces. Put them where they belong. This isn’t just kitchen tidying for looks. Clutter traps crumbs, dust, and grease, which makes actual cleaning take longer.
A quick kitchen organization pass takes two minutes and makes every other cleaning step faster. Once your counters are clear, you can see what actually needs wiping down. It’s the first step in any real kitchen reset routine, and it makes meal preparation easier too, since you’ve got a clean kitchen to work in from the start.
Clean Spills as Soon as They Happen
Kitchen spills are easiest to clean the moment they happen. Wait an hour, and that spill turns into a stuck-on stain.
Keep a damp cloth or microfiber cloth near your stove and counter. When sauce splatters or coffee stains hit a surface, wipe them right away. This kind of immediate spill cleanup takes seconds now, but saves you scrubbing later.
Everyday spills are normal. Letting them sit is what turns a quick wipe into a real kitchen mess. Spill removal is one of the simplest cleaning habits you can build, and it pays off every single day.
Keep Your Cleaning Supplies Within Reach
You’re far more likely to clean something the moment it happens if your cleaning supplies are close by. If they’re stashed under the sink behind ten other things, you’ll skip it.
Keep a small kit of cleaning tools out and accessible:
- A spray bottle with an all-purpose cleaner
- A microfibre cloth or two
- A sponge for dishes and surfaces
- Cleaning gloves, if you use them
This doesn’t mean cluttering your counter with household cleaning products. A small caddy under the sink or in a nearby drawer works fine, as long as it’s within arm’s reach. Having the right cleaning products for kitchens ready to go removes the excuse to put things off. When your kitchen cleaning supplies are easy to grab, quick cleaning becomes automatic instead of another task on your list.
Empty the Dishwasher Every Morning
This one habit changes your whole day. Empty the dishwasher first thing, before coffee, before breakfast, before anything else.
Here’s why it matters: an empty dishwasher means dirty dishes have somewhere to go all day. Skip this step, and dishes pile up in the sink instead, because nobody wants to hand-wash something the dishwasher could’ve handled.
Make dishwasher unloading part of your morning kitchen routine. It takes two or three minutes and sets up the rest of your day. Combined with a nightly kitchen reset (running the dishwasher before bed), this habit keeps your sink clear and your kitchen genuinely functional.
A clean kitchen every morning isn’t about deep cleaning. It’s about small, consistent moves like this one that stop mess before it starts. That’s real morning productivity, and it costs you almost nothing.
Save Time Cleaning Kitchen Surfaces
Different kitchen surfaces need different care. What works on granite can scratch laminate. What shines stainless steel can leave streaks on marble. Learning a few surface-specific cleaning tricks saves you time and stops you from damaging your countertops by accident.
Here’s how to handle the most common kitchen surfaces without wasting effort.
Remove Fingerprints From Stainless Steel
Stainless steel shows every touch, every smudge, every fingerprint. The trick to cleaning it fast is working with the metal, not against it.
Look closely at your fridge or appliance, and you’ll see the stainless steel grain, fine lines running in one direction. Always wipe along those lines, never across them. Wiping against the grain can leave faint scratches over time.
Use a microfiber cloth with a stainless steel cleaner, or make your own with a few drops of olive oil. Buff gently in the direction of the grain. This restores stainless steel shine without any harsh scrubbing. It only takes a minute, and it’s one of those small habits that keeps your kitchen looking sharp.
Clean Countertops Quickly
Most countertop cleaning doesn’t need special products. Warm water and dish soap handle the vast majority of everyday messes.
For most surfaces, laminate, solid surface, or standard countertops, a damp cloth with mild soap is enough. Wipe, rinse, dry. That’s countertop maintenance in under a minute.
Stone surfaces need more care. Granite and marble countertops are porous and can stain or etch if you use the wrong cleaner. Stick to a pH-neutral cleaner and non-abrasive cleaning tools. Skip vinegar and other acidic cleaners on stone. They can dull the finish over time and eat away at the sealant.
Remove Stains From Cutting Boards
Cutting boards pick up stains and odors fast, especially after cutting things like beets, berries, or raw meat.
For plastic chopping boards, make a baking soda paste. Scrub it into the stain, let it sit for a few minutes, then rinse. This lifts most food stains without scratching the plastic.
For wood cutting boards, cut a lemon in half and rub the cut side directly on the stain. The lemon juice breaks down discoloration naturally. Follow with a light vinegar cleaning wipe to help with cutting board sanitation, since wood boards can hold onto bacteria in their grain.
Let both types air dry fully before you put them away. Trapped moisture is what causes lingering smells.
Clean Greasy Kitchen Cabinets
Grease drifts up from your stovetop and settles on nearby kitchen cabinets, even ones you never touch. Over time, it builds into a sticky film.
Mix warm water with a bit of dish soap, or use a baking soda and vinegar solution for tougher spots. Wipe cabinet fronts with a soft cloth, working in small sections. For wood cabinets, follow up with a light wood surface polishing pass to protect the finish.
Don’t skip cabinet dusting on top surfaces either. Dust mixes with airborne grease up there and turns into a grimy layer that’s easy to forget. A quick wipe every couple of weeks as part of your regular cabinet maintenance keeps it from building up into a bigger job.
Speed Up Sink and Drain Cleaning
Your kitchen sink handles more daily use than almost any other surface in the house. It deals with food scraps, grease, dishes, and constant moisture. A few fast habits keep it clean and keep your drain running the way it should.
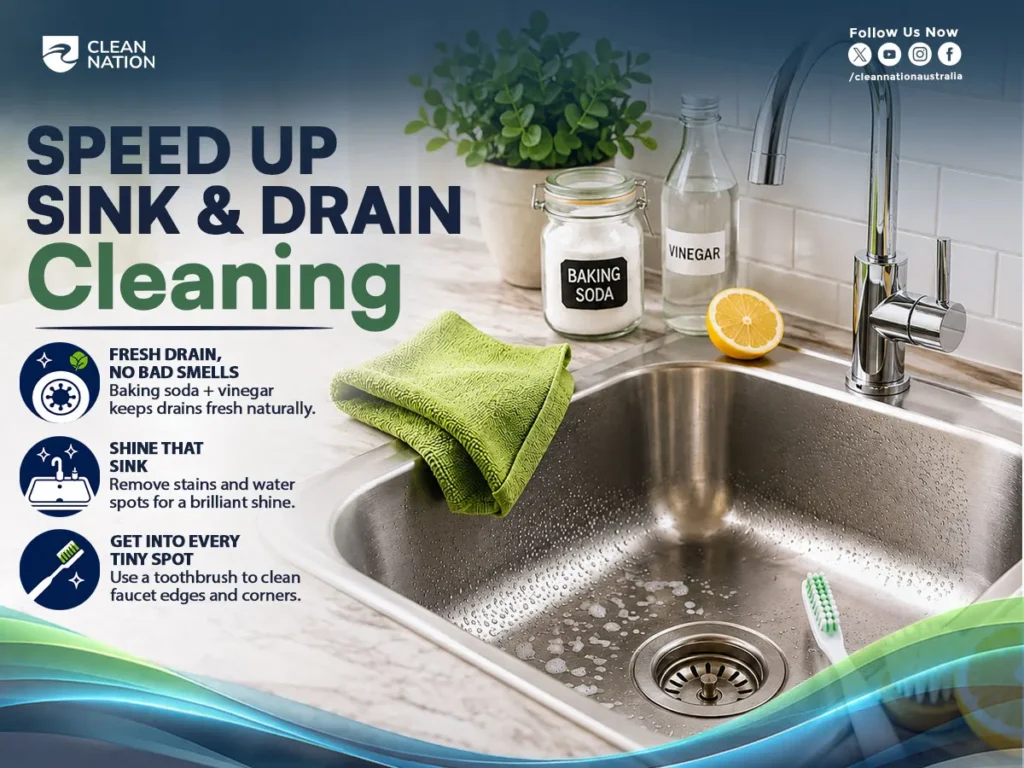
Freshen a Smelly Kitchen Drain
A smelly kitchen drain usually means food particles are trapped and breaking down somewhere you can’t see.
Pour half a cup of baking soda down the drain, followed by half a cup of vinegar. Let it fizz for about five minutes. This natural drain cleaner combination breaks down buildup and helps with odor neutralization. Finish with a boiling water flush to clear everything out.
For drains with more stubborn odors, citrus peels tossed into a garbage disposal (if you have one) can help too. Running this simple drain deodorizing routine once a week keeps smells from coming back.
Remove Stains From a Stainless Steel Sink
Water spots and mineral deposits build up fast on a stainless steel sink, especially in areas with hard water.
Mix coarse salt and lemon juice into a light paste, or use a baking soda paste if you don’t have salt on hand. Scrub gently in the direction of the metal’s grain, then rinse and dry with a clean cloth. Drying the sink after each use is the single best thing you can do for long-term stainless steel maintenance. It stops watermarking removal from becoming a repeat chore.
A quick buff with a soft cloth restores shine and counts as basic sink polishing; no extra products needed.
Clean Hard-to-Reach Areas With a Toothbrush
Some spots around your sink are too small for a sponge or cloth to handle. Grout lines, faucet bases, and micro-grooves around the drain collect grime that regular cleaning misses.
An old, stiff brush or toothbrush gets into these hard-to-reach areas easily. Dip it in a bit of soapy water or a baking soda paste, then scrub the nooks and crannies around your faucet and drain edges.
This kind of detailed cleaning doesn’t need to happen every day. Once a week is enough to stop buildup in tight spots. A grout brush works well for wider grout lines, while a toothpick cleaning hack handles the tiniest gaps a brush can’t reach. It’s precision cleaning, but it only takes a few extra minutes.
Use These Quick Hacks for Grease and Grime
Grease is the hardest thing to clean in any kitchen. It’s sticky, it spreads, and it hardens the longer it sits. The secret to fast grease removal isn’t stronger scrubbing. It’s loosening the grease first so it wipes away instead of fighting you.
These four hacks target the spots where grease buildup happens most.
Loosen Stovetop Grease Before Scrubbing
Fresh grease wipes off easily. Baked-on stovetop grease is a different story, especially after grease splatters cook onto the surface over several meals.
Make a baking soda paste and spread it over the greasy area. Let it sit for ten to fifteen minutes. The paste breaks down the grease so it lifts instead of sticking.
After it sits, wipe with hot soapy water and a non-scratch scourer. This step matters: always loosen dirt before scrubbing. Scrubbing dry, hardened grease straight away just grinds it into the surface and can scratch your stovetop. Stovetop degreasing works best when you give the paste time to do the work for you.
Soak Rangehood Filters Instead of Scrubbing
Your rangehood filter traps grease from every meal you cook. Over weeks, that turns into a thick, sticky layer that’s almost impossible to scrub off dry.
Skip the scrubbing entirely. Fill your sink with hot water and a good squeeze of dishwashing liquid. Submerge the filter and let it soak for 20 to 30 minutes.
This soaking method breaks down rangehood grease on its own. When you come back, most of the grime wipes off with light pressure. This kind of no-scrub cleaning saves your arms and does a better job than scrubbing ever would. Regular range hood filter cleaning, roughly once a month, keeps filter maintenance simple and stops grease from building into a stubborn layer.
Remove Grease From Backsplashes
Backsplashes sit right behind your stove, so they catch grease every time you cook. That grease often settles into the grout, turning it dark and greasy grout is much harder to clean than the tile itself.
Spray a degreaser directly onto the backsplash grease and let it sit for a few minutes. For grout lines, a baking soda paste worked in with an old toothbrush lifts grease that a cloth can’t reach.
Wipe the tile clean with a damp cloth, then rinse. Regular tile cleaning, once a week if you cook often, stops backsplash grease removal from turning into a deep scrub every time.
Clean Greasy Baking Trays With a Soak
Baking dish grease and sheet pan grease build up fast, especially after roasting meat or vegetables. Baked-on residue can look impossible to shift, but soaking does most of the work.
Fill your sink or the tray itself with hot soapy water. For really stubborn residue, add a scoop of powder detergent to the soak instead of regular dish soap. Let the tray sit for at least an hour, longer for heavily baked-on grease.
After soaking, the grease wipes off with a sponge instead of needing hard scrubbing. This simple soaking method works for basic metal pan cleaning and helps with baking sheet restoration on trays that look beyond saving.
Save Time Cleaning Kitchen Appliances

These tips work well for home kitchens. If you’re managing equipment in a commercial setting, the process looks a bit different; see our full guide on How to Clean Commercial Kitchen Equipment for that.” This works because it draws a clear line between home hacks and commercial-grade cleaning right where the reader might wonder if the advice applies to their restaurant or cafe.
Here’s how to handle the appliances that need the most attention.
Steam-Clean Your Microwave With Lemon
Microwave cleaning is one of the easiest hacks in the kitchen, and it barely takes any scrubbing at all.
Fill a microwave-safe measuring cup with water and add a few lemon slices. Microwave it on high for three to four minutes, until the water boils and steams up the inside.
Leave the door closed for another five minutes. The steam loosens dried food, and food splatters stick to the walls. Open it up and wipe everything away with a cloth, no scrubbing needed. This lemon steam cleaning method also leaves a fresh smell behind. Doing this microwave steam method every couple of weeks keeps up basic microwave maintenance without any real effort.
Soak Oven Racks While You Clean
Oven racks collect baked-on residue that’s tough to remove while they’re still in the oven. Pulling them out and soaking them is faster and far less work.
Fill your bathtub or a large basin with hot water and a good amount of dishwashing liquid. Submerge the oven racks fully and let them sit for a few hours, or overnight for heavy buildup.
This hot-water soaking method loosens grease and grime so it wipes off instead of needing scraping. Do this oven rack cleaning while you tackle other kitchen tasks, so the soaking happens in the background. It’s one of the easiest ways to handle oven rack grease removal without spending real effort on it.
Loosen Baked-On Oven Grease
The inside of your oven takes the brunt of spills and splatters, and oven grime hardens fast under high heat.
For a chemical-free oven cleaning option, mix baking soda with a small amount of water to form a thick paste. Spread it across the oven interior, avoiding the heating elements. Let it sit overnight.
In the morning, wipe away the paste with a damp cloth. Most of the baked-on grease removal happens on its own, since the baking soda oven cleaner breaks down grime while it sits. This natural oven degreaser works about as well as a homemade oven cleaner gets, without the harsh fumes of store-bought sprays.
Deep Clean Your Dishwasher
It sounds strange, but the appliance that cleans your dishes needs cleaning itself. Hard water deposits and food residue build up inside over time, especially around the filter.
Start with dishwasher filter cleaning. Pull out the filter (check your manual if you’re not sure where it is) and rinse it under hot water, scrubbing off any trapped debris.
Next, place a bowl with one cup of white vinegar solution on the top rack and run a hot cycle with nothing else inside. This dishwasher vinegar cleaning step breaks down dishwasher deposits and helps with general dishwasher sanitation. Doing this once a month keeps your dishwasher maintenance simple and your dishes coming out properly clean.
Descale a Kettle With Vinegar
Limescale builds up inside an electric kettle wherever you have hard water. That mineral buildup affects how fast your kettle boils and can affect the taste of your water.
Fill the kettle with equal parts vinegar and water. Let it sit for about an hour, then bring it to a boil. Pour it out and rinse the kettle thoroughly two or three times with a kettle rinse of plain water, since leftover vinegar smell can linger.
This kettle descaling method is natural descaling at its simplest, no special products needed. Doing this every month or two, depending on how hard your water is, keeps limescale from building into a thick layer that’s much harder to remove.
Simple Cleaning Habits That Save Time Every Day
The biggest time-saver in any kitchen isn’t a product or a hack. It’s a set of daily kitchen habits that stop mess from piling up in the first place. A few small moves, repeated consistently, do more for kitchen cleanliness than one big weekend clean.
Here’s how to build routine cleaning into your day without it feeling like extra work.
Clean While You Cook
Cooking messes happen the whole time you’re at the stove, not just at the end. If you wait until the meal is done to deal with them, you’re left with a much bigger job.
Get in the habit of cleaning as you go. While something simmers or bakes, wipe down food preparation surfaces, rinse a used bowl, or put ingredients away. Handle everyday spills the moment they happen with a damp cloth, instead of letting them dry onto the counter.
This kind of immediate spill cleaning takes seconds during meal preparation. Wipe with a microfiber cloth as you move between steps, and you’ll finish cooking with barely any kitchen mess left to deal with.
Soak Items While Cleaning Other Areas
Some cleaning tasks don’t need your full attention. They just need time. That’s where a soaking method becomes one of the best multitasking cleaning tricks you have.
Fill a sink or basin with hot water and a bit of dishwashing liquid, then submerge baking dishes, cast iron pans, or oven racks that have stuck-on food. Let them sit while you wipe counters, sweep, or handle other tasks.
Hot-water soaking loosens grime on its own. Some items can even go through overnight cleaning, soaking while you sleep, so they’re ready to rinse clean first thing in the morning. This is one of the easiest ways to get two things done in the time it usually takes to do one.
Follow a Top-to-Bottom Cleaning Order
The order in which you clean actually matters. Skip this, and you end up redoing work you already finished.
Always start high and work your way down. Clean ceiling vents and cabinet tops first, since dust and kitchen ceiling dust fall as you wipe them. Then move to countertops and appliances. Finish with kitchen floors last, since that’s where all the dust and debris end up anyway.
This kind of top-to-bottom cleaning follows a simple cleaning order that avoids wasted effort. Above-cabinet cleaning before anything else means you’re not dusting your clean counters a second time. Build this sequence into your regular cleaning checklist and it becomes automatic. How often you need to repeat it depends on your cleaning frequency, weekly for most kitchens, and more often if you cook daily.
Deal With Small Messes Before They Build Up
Small messes are easy to ignore because they don’t look like much on their own. But food crumbs, food debris, and a bit of grease add up fast when they’re left alone.
Wipe up crumbs after meals instead of letting them sit until the next cleaning session. The same goes for grease buildup near the stove. A quick wipe today stops it from turning into a stubborn stain next week.
This habit is really about preventing food buildup and preventing dish buildup before they start. A few minutes of daily kitchen maintenance, tackling small messes as they happen, saves you from the kind of deep, routine cleaning that eats up your whole afternoon.
Kitchen Cleaning Mistakes That Waste Your Time
Some cleaning mistakes don’t just waste time. They make more work for you later. A few common cleaning errors turn a quick wipe-down into a much bigger job or damage surfaces you were trying to protect.
Here’s what to avoid and what to do instead.
Scrubbing Dirt Before Loosening It
Reaching straight for elbow grease feels productive, but scrubbing dry, hardened dirt is one of the most ineffective cleaning habits there are.
Hard scrubbing on stuck-on grime often just grinds it deeper into the surface. Worse, abrasive scrubbers can leave fine scratches on stainless steel, non-stick pans, and countertops. That surface damage doesn’t go away.
Always loosen dirt before scrubbing. A baking soda paste left to sit for ten minutes softens stubborn stains so they lift with almost no effort. Then use a non-scratch cleaning pad and gentle scrubbing to finish the job. It takes a little patience, but it protects your surfaces and actually gets things cleaner.
Using Too Much Cleaning Product
More product doesn’t mean cleaner. Over-application of cleaning agents is a common mistake that actually slows you down.
Too much cleaner leaves behind cleaning residue, a sticky or streaky film that attracts more dust and grime. You end up wiping the same spot twice, once to clean it and again to remove the extra product.
A small amount goes a long way. Diluted dish soap handles most everyday messes just fine. For a gentler approach, a pH-neutral cleaner works well on delicate surfaces like stone countertops. You don’t need harsh chemicals for most kitchen jobs. Natural cleaning solutions like baking soda and vinegar handle plenty of grime without the residue, and chemical-free cleaning is safer around food prep areas too.
Cleaning in the Wrong Order
The order you clean in has a bigger impact than most people realize. Get it wrong, and you create extra work without meaning to.
A common cleaning inefficiency is wiping counters and floors before dusting higher surfaces. Dust from cabinet tops or vents settles down onto whatever you already cleaned, so you end up redoing it.
Stick to top-to-bottom cleaning: high surfaces first, counters next, floors last. Pair that with surface-specific cleaning, using the right method for stone, laminate, or stainless steel, so you’re not using one approach everywhere. A simple cleaning checklist that follows this sequence turns your kitchen cleaning routine into something efficient instead of something you have to think through every time. Skipping this step is one of the easiest ways to end up with wasted effort.
Letting Grease Build Up
Grease is sneaky. It builds up slowly, so it’s easy to miss until it’s a real problem.
Stovetop grease and range hood grease don’t stay where you can see them. They drift and settle as a grease film on nearby cabinets, walls, and even inside appliances you rarely think to check. That hidden grease turns into baked-on grease if it’s left long enough, and baked-on grease takes far more effort to remove than fresh grease residue.
Don’t forget behind-appliance cleaning either. Pulling out your stove or fridge every few months for appliance pull-out cleaning catches grease and debris that build up completely out of sight. Staying ahead of grease buildup with regular wipe-downs is far less work than tackling it once it’s hardened in.
Why Choose Clean Nation for Kitchen Cleaning?
These hacks handle everyday kitchen upkeep. But some jobs go beyond what a quick wipe or a baking soda paste can fix: deep grease buildup, commercial equipment, or a kitchen that needs a full reset. That’s where Clean Nation comes in.
Clean Nation offers kitchen cleaning services in Australia for homes and businesses alike. Whether you need a one-time deep clean or ongoing support, the team handles the work you don’t have time for. See professional kitchen cleaning in action to get a sense of how the team approaches a job.
Here’s what sets Clean Nation apart:
- Commercial-grade cleaning: Equipment and methods built for tougher jobs, not just surface wipes.
- Food-safe cleaning products: Every product used is safe around food preparation areas, so there’s no worry about contamination.
- Trained cleaning experts: Every professional cleaner on the team knows how to handle different surfaces, from stainless steel to stone, without causing damage.
- Restaurant kitchen cleaning services: For commercial kitchens, Clean Nation understands the pace and standards that busy kitchens need to meet.
- Reliable commercial cleaning: Scheduled or on-demand service, built around your kitchen’s actual needs, including kitchen cleaning services in New South Wales.
For home kitchens or full commercial kitchens, Clean Nation brings the same standard: thorough, food-safe, and done right the first time. If daily habits and quick hacks aren’t enough to keep up, professional cleaning services take the pressure off, so you get your time back without cutting corners on cleanliness.
Case Study: How Clean Nation Cut Grease Buildup by 80% for a Local Café
The Problem
A busy café in a high-traffic shopping strip was struggling to keep its kitchen up to standard, and they turned to a kitchen cleaning service in Sydney for help. The team cooked breakfast and lunch for over 200 customers a day. Grease buildup on the stovetop, range hood, and backsplash was getting worse every week.
Staff tried to keep up between shifts, but daily cleaning wasn’t enough. Baked-on grease had built up behind the stove and inside the range hood filters. A routine health inspection flagged the grease levels as a concern. The café had two weeks to fix it or risk a compliance issue.
The Challenge
The kitchen couldn’t shut down for cleaning. Every hour of downtime meant lost revenue. The owner needed a professional cleaner who could work fast, follow food safety standards, and get the kitchen back to full function the same day.
Regular staff cleaning products weren’t cutting it either. The grease had hardened in places that needed commercial-grade cleaning, not just a wipe-down.
The Solution
Clean Nation sent a team for a full restaurant kitchen cleaning service, scheduled during off-peak hours to avoid disrupting service.
The team worked through the kitchen using a clear cleaning order, starting with the range hood and filters, then the stovetop and backsplash, then behind-appliance areas that hadn’t been cleaned in months. All products used were food-safe, so prep could resume as soon as the team finished each section.
The full job included:
- Soaking and degreasing rangehood filters
- Loosening and removing baked-on stovetop grease
- Cleaning grout lines and tile behind the stove
- Pulling out appliances to clean hidden grease buildup
- Wiping down and sanitizing all food preparation surfaces
The Result
The café passed its follow-up health inspection with no issues. Grease levels behind the stove and range hood dropped by roughly 80%, based on the inspector’s before-and-after notes.
The kitchen stayed open the entire time. No lost service hours, no disrupted prep schedule. The owner set up a recurring monthly cleaning plan with Clean Nation to stop the buildup from reaching that point again.
Why It Worked
The difference wasn’t just the cleaning products. It was the process: a professional team that knew which areas get missed, worked in the right order, and used commercial-grade methods built for kitchens under daily pressure.
For any kitchen, home or commercial, that’s the gap between quick daily habits and a deep clean that actually holds up under inspection.
FAQs
How often should I deep clean my kitchen?
Once a week is enough for most kitchens if you keep up with daily habits like wiping spills and clearing clutter. If you cook every day or run a busy household, a deep clean every two weeks keeps grease and grime from building up between sessions.
What’s the fastest way to clean a greasy stovetop?
Spread a baking soda paste over the grease and let it sit for ten to fifteen minutes before wiping. This loosens baked-on grease so it wipes away instead of needing hard scrubbing, which saves time and protects the surface.
Can I use vinegar on all kitchen surfaces?
No. Vinegar works well on stainless steel, glass, and most everyday messes, but skip it on granite, marble, and other natural stone. The acid can dull the finish and damage the sealant over time.
How do I stop my kitchen from smelling bad?
Most kitchen odors come from a dirty drain or trapped food debris. Run a baking soda and vinegar flush down the drain weekly, and don’t let dishes or trash sit out overnight. This handles most smells at the source.
Do I need professional cleaning if I follow these hacks?
Daily hacks handle everyday mess, but they won’t fix months of hidden grease behind appliances or inside range hoods. A professional service like Clean Nation is worth calling in for a deep reset or before a health inspection.
Conclusion
A clean kitchen doesn’t take hours. The kitchen cleaning hacks in this guide, from loosening grease before scrubbing to soaking pans while you multitask, save real time without cutting corners.
Consistency matters most. Small daily habits, done in the right order, beat one big deep clean every few weeks. Build these tips into your kitchen cleaning routine and kitchen maintenance stops feeling like a chore.
For buildup that’s gone beyond DIY, Clean Nation’s professional cleaning services fill the gap, using food-safe methods to get your kitchen properly clean, not just clean enough. Check out client reviews to see how the team has helped other homes and businesses.
Ready for a kitchen that’s actually clean? Book a cleaning with Clean Nation today and let the experts handle the deep work while you enjoy the results.